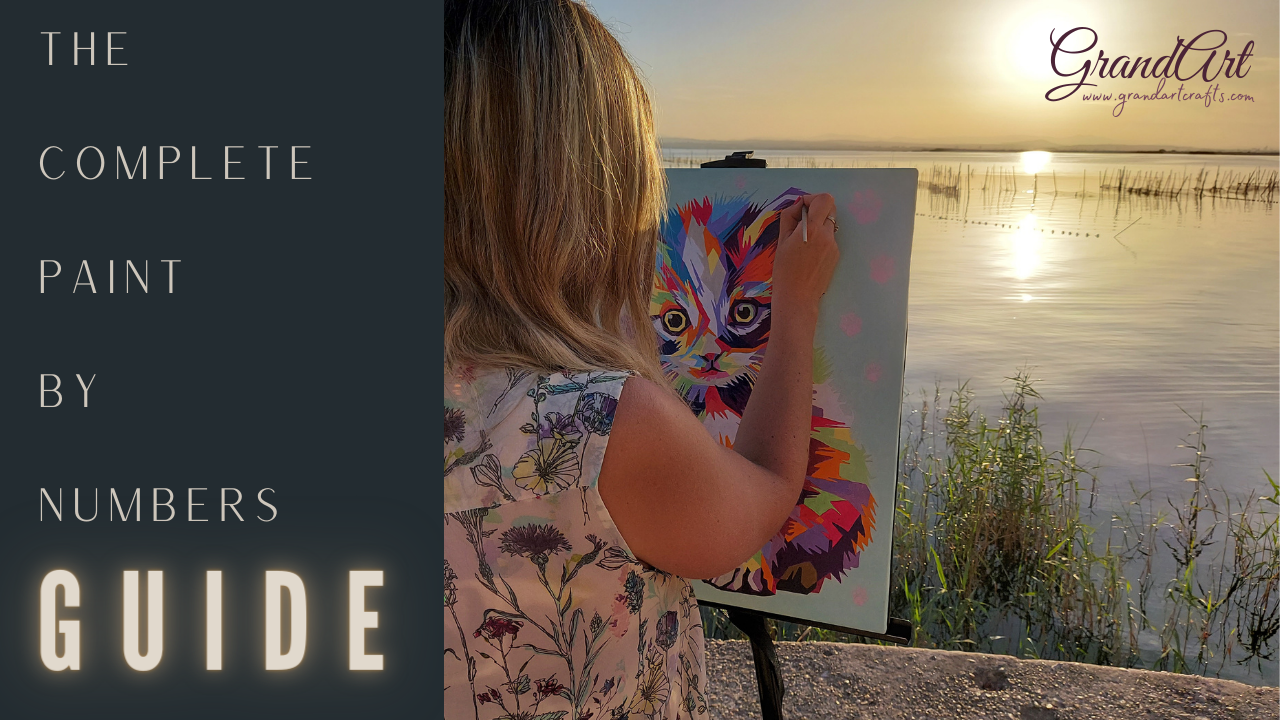
Sit down, relax and enjoy this complete Paint by numbers guide.
You’ll love it!
If you’re a new Painter By Numbers, consider this your bible.
If you’re an intermediate one, I bet you’ll still find useful information.
And if you happen to be an expert, what can I tell you that you do not already know? Stick around and let us know if we missed anything that our community should know.
So I won’t be telling you here the story behind Paint by numbers - fair enough - you were not looking for it anyway.
What I’ll tell you here are tips and tricks that will make your life easier.
While painting.
By numbers.
All those things I wished someone had told me right when I started.
From the basics to more advanced technics, let’s say stuff you should know.
Some things that you were about to look up.
And many others that you wouldn’t even think of.
Because you don’t know what you don’t know yet, right?
Let’s cut the small talk and get down to it.
WHAT YOU SHOULD KNOW BEFOREPAINTING BY NUMBERS
SHOULD YOU BUY YOUR PAINT BY NUMBERS WITH OR WITHOUT A FRAME?
First off, let me recommend that if you know in advance you’ll end up framing a design after finishing it, you should buy it framed in the first place.
It will save you money, time and a hassle.
However, a framed canvas doesn’t have to be necessarily the best choice for you. Let’s see what options do we have.
- Mounted and stretched canvas on a frame.
- Rolled canvas with a DIY frame.
- Rolled canvas without frame.
- Folded canvas without frame.
Mounted and stretched canvas on a frame
You don’t need to worry about creases and wrinkles all over. Framed canvases come mounted and stretched on a wooden frame.
The frame makes it easier to set up your workshop anywhere you can imagine.
Why not take it to the beach and enjoy the sea melody while painting? Or to a picturesque scenery on a sunny day? The options are endless.
 (Small).png)
 (Small).png)
After finishing, you can show off, displaying it on the walls of your house.
Some people don’t like the fact that you can’t fully lean your hand on the canvas while painting. As the frame leaves a gap between the canvas and the desk or surface you are using, you’d be forcing the fabric downwards
Rolled canvas with a DIY frame
These kits include a DIY frame instead of an assembled frame. Four wooden bars that you have to put together first, and then stretch the canvas.
They should come with everything you need to hang them.
Rolled canvas without frame
Delivered in a protective cylinder, they shouldn’t have creases and wrinkles.
The best option if you don’t want to display your painting or if you want to display it on your own type of frame. Not everybody likes the standard frames provided in kits.
Check out this video where we fix the canvas to the frame.Folded canvas without frame
It’s usual for some companies to deliver frameless kits with the canvas folded, to save on shipping. While it’s good to put the cost down and hence the price down, it results in creases and wrinkles all over.
Cheapest option but with a big downside.
In conclusion, trying to finally answer the question… should you buy your Paint By Numbers with or without a frame?
Well, there’s not a definitive answer to suit everybody, it depends on your expectations, needs and your personal preference.
If you asked a group of Painters by numbers, there would probably be 50% of them saying they prefer the framed version, and the other 50% opting for the frameless one. If you’re concerned about creases spoiling your artwork, you may prefer to go for the framed version or make sure the frameless kit you’re buying, will be delivered rolled instead of folded.
However, if you just want to practice, polish your skills at a lower cost and then store your canvas for the rest of the eternity, the folded frameless version could be a very good choice.
HOW TO GET RID OF CREASES AND WRINKLES
That’s actually a very good question. Wrinkles may be a bit easier to get rid of, however, when it comes to creases, no matter what you do, they tend to stay to give an unwanted look. Some companies use linen canvas instead of the cotton version, which seems to be arguably a better solution.
So what can you do about those stubborn creases?
Before starting painting, lay a towel on a flat surface and place the canvas on it, the reverse side upwards.
Then another towel or cloth to serve as protection between the canvas and the iron.
Iron the back without steam. Make sure you don’t iron the front, as we need to preserve lines and numbers.
If you’re not happy with the result, don’t worry just yet.
You can take it further by repeating the process without a cloth in between, in other words, ironing directly the back of the canvas.
That should remove some wrinkles and smooth creases up to some degree.
If you’re still not happy. And as a very last resort, you could use a bit of steam.
At your own risk.
Steam may damage or erase the front marks, or most likely it will make the canvas wavy.
Check out this video where we show how we did it and what happened.DIFFICULTY OF A DESIGN
There’s not a good or bad choice by itself. It depends on your mood. Or your experience.
Do you want to spend countless hours on a single project or do you want to get it done more quickly and move on to the next one? The more small fields, or the smaller fields, (don’t get confused here ;) the more difficult it will be, hence it will take you longer to finish it.
You’ll need to be patient and enjoy painting without seeing much progress each time. Let’s say you can’t be in a rush if choosing these ones.
It’s a win-win. You can enjoy your hobby for longer without spending more money.
This is a clear example of a challenging one.
 (Small).png)
Astronaut paint by numbers
If on the contrary you just want to get your feet wet or you are not patient enough, you may prefer a design with bigger fields like this one.
 (Small).png)
Kitten paint by numbers
SHOULD YOU USE GESSO?
First, let’s see what actually gesso is.
Gesso is a liquid primer to coat canvases or other surfaces before painting.
It’s available in two grades, student and artist. Of course, the artist grade will be of a better quality hence a higher cost.
It can be transparent, white, black or mixed with any colour.
However, as Painters by numbers, we can only use the clear/transparent version, since this allows lines and numbers to show through.
We wanted to give you an insight into our experiment with gesso.
So, we’ve tried different gesso brands on different canvas materials (linen and cotton) and different canvas brands.
And this is what we’ve found.
In most cases, paint spread better in terms of coverage. The colours looked more vivid and consistent, numbers were slightly better covered compared to the part without gesso.
On the side with no gesso, every stroke of the brush was noticeable. Some areas were not properly covered and white spots came through.
We did see an overall improvement after applying gesso.
But not always.
To be completely honest, each attempt gave us inconsistent results.
In some cases, we haven’t noticed any difference. Neither better, nor worse.
Depending on the gesso brand or canvas material you use, you may have a different outcome.
We can only recommend that if you’re serious about painting by numbers, you should try it.
Feel what it is to paint over a gessoed surface and judge by yourself whether you like it or not.
You’ll see that after applying gesso, the canvas surface becomes rough, depending on the brand and quality that you use.
Numbers and lines get slightly blurred, nothing to worry about though, it’s barely noticeable.
After applying it, wait for 24 hours or the time suggested by the producer before working on the canvas.
You may prefer to sand the gessoed surface slightly before applying acrylics, so have sandpaper handy.
If not sanded, the rough surface left by gesso will make your brush less obedient. Although this will also depend on the brand you use.
In other words, the brush won’t cooperate with you as much as you would expect it to.
It feels like the rough surface drags your brush bristles, making it more difficult to leave a perfectly smooth edge around the fields.
Whereas on the sanded part, the movement of the brush is smoother, more natural.
We always recommend trying things by yourself and making your own mind up.
Start painting without sanding first and see if you feel comfortable painting over that kind of surface. You can always sand it afterwards if you don’t like it.
Whether you use gesso or not, sand it or not, we are positive you’ll have as much fun painting and your piece of art will end up looking amazing anyway.
WHAT YOU NEED TO PAINT BY NUMBERS
Clearly, a Paint By Numbers kit. But other than that:
A WORKSTATION
Feeling comfortable and protecting your back and neck is a must. When you paint, hours just fly by. You don’t realise how long you’ve been painting for, until your body starts complaining. Adopting a good body posture should prevent it. Use a flat surface, table or desk, with enough space to lay out your painting equipment.
Protect the space around you if you’re fond of it, accidents just happen and working with paints… you don’t know how far those little drops tend to travel when you mess it up. Some people say – if something can go wrong, it will. I don’t agree but, better be safe than sorry.
GOOD LIGHTING
or a beautician style lamp if you want to take it to the next level.
A GLASS OF WATER
to rinse the brushes. Be careful though if you are enjoying a nice cuppa while painting, you wouldn’t be the first one to soak brushes in it or drink water mixed with paints.
AN OLD CLOTH
piece of soft paper or kitchen roll to pat the brushes dry.
A MAGNIFIER
Some designs have such small numbers that you may still struggle to see them with the naked eye.
Suppliers like Grandart provide you with a basic magnifier in every kit.
But if you want to go pro, consider getting one of these magnifier glasses with built-in light.
.jpg) Link to Amazon
Link to AmazonTAKE A PICTURE OF THE CANVAS
But first, let me tell you what a reference sheet is.
A reference sheet is an A3 approx. size sheet of paper with the outline and numbers of the design printed on it. You can use it as a reference to double-check the correct number if you accidentally paint over it with the wrong colour.
Grandart provides you with one in every kit, however, not all suppliers include it.
Don’t worry it’s not the end of the world, as previously stated, just take a picture of the canvas before starting. Make sure it’s of good quality since you’ll have to zoom it in.
Sooner or later, you’ll need it.
Now that we are all set up, it’s time to do our magic.
HOW TO PAINT BY NUMBERS
IN WHAT ORDER SHOULD YOU START COLOURING?
Most of the suppliers out there will tell you this:
Start from the top of the canvas and continue downwards to avoid any smudging. If you’re left-handed, start from the top right corner, if you’re right-handed start from the top left one.
Use dark colours before the light ones.
If you’re a beginner, start from larger areas and then move towards smaller areas, this can help you to build up your skill.
While it all makes sense and it’s a good recommendation, what we really recommend you doing is following your guts.
If you fancy starting with a certain colour because you love it, just do it.
If you fancy painting a certain part of the design first because you really love it, just do it.
The only rule you should stick to is avoiding dragging your arm on wet paint to prevent smudging.
PAINTS
Most of the paint by numbers sets come with acrylic paint.
As you may already know, water-based acrylic paint is composed of pigment particles dispersed in an acrylic polymer emulsion, nontoxic in most cases.
Their properties make them a better option than oil-based paints or watercolours.
Acrylics dry quickly, dissolve in water and don’t need special equipment to be cleaned off the brushes. They’re also newbie-friendly and not expensive, a perfect match for Paint By Numbers.
They usually come in little pods of 2 ml. capacity that are vacuum-sealed. The most common number of pods ranges from 12 to 24.
Some kits require blending colours.
In other words, they don’t come with paints ready to be used, instead, they have instructions on how to mix them.
So you have to do it yourself.
F.I. use an equal amount of colour numbers 3 and 5 and mix them to make number 9.
I would avoid those kits unless that is something, in particular, you want to experiment with. The final result doesn’t usually look like the original.
Moreover, it’s extra time spent on blending colours instead of painting.
Let's see now a few quick and handy tips regarding paints:
You should close the lid of the paint pod when you finish, make sure it’s properly sealed, otherwise, it will get dry.
If it dries, add a drop or two of warm water to bring it back to life. You can do the same if the paint is too thick.
Use the paint on the lid first, it tends to dry faster.
Use the right amount of paint or less than you think you’ll need, you don’t want to end up with too much paint to spread on a small field.
BRUSHES
Paint by numbers usually come with three or four different size brushes, so you can choose one according to the size of the field you need to paint.
The ones provided by regular kits are just fine. Good enough to get the job done and cost-effective to not make kits too expensive.
However, if you become a serial painter by numbers you may want to consider buying a professional kit, it pays off.
Why?
Because they have an improved handle and bristles are of better quality. Also, if you want to practice other techniques, some brushes are more suitable than others.
But let’s not worry about it if you’re just starting out.
Whatever you choose, professional ones or not, you should always keep them clean and never let the paint dry on the brush. Once paint becomes dry, it’s much more difficult to be cleaned off, it could ruin your brush.
When you should wash your brushes:
When switching brushes. No matter if you think you’ll use it again soon, you can be easily carried away and forget about it.
When switching colours, we don’t want to mix them.
And after finishing the day, of course.
How to clean brushes:
After using them, wipe away paint with a cloth, towel or piece of soft paper.
Swirl it around in a cup of water for a few seconds to let off the remaining paint.
Shake off the excess water and pat dry.
That may be enough if you just want to change colours, but if you want to call it a day and leave the brush in perfect conditions, ready for the next day you may prefer to wash them using hand soap under a stream of lukewarm water. You can massage bristles gently to separate them and make sure any leftover paint is removed.
If the paint becomes too dry and you need extra help, you can also use nail polish remover or buy professional equipment.
Let’s have a look at everything else you should know about brushes.
Handy tips about brushes:
Trim the tip of the brushes slightly if bristles don’t come completely straight or are disobedient.
Don’t soak your brush with water before putting it in the paint, but keep it moist instead.
Don’t keep brushes in water for long, this could lose or rust the ferrule.
Don’t store them with bristles facing down and touching the surface, their own weight will deform them.
Always lay wet brushes flat.
Use a toothpick.
I know that’s not technically a brush, but you can use it as such. Especially for very thin fields.
And finally the mother of all tips, don’t get used to holding the brush with your mouth, sooner or later, you’ll accidentally put the wrong end in.
HOW TO COVER NUMBERS
Let’s be honest.
Sometimes you can still see the numbers after painting over.
It’s a fact.
You’re not alone if this happens to you.
It’s very common, especially with lighter colours.
You can apply a second layer, go over visible numbers with a blob of paint without spreading it out.
If you notice this issue at an early stage, you can cover the rest of the numbers of that colour (fields that have not been painted yet), with a white marker before applying acrylic paint.
WHAT TO DO IF YOU USE THE WRONG COLOUR
I wish all my problems were as easy to fix.
If you use the wrong colour, let it dry completely. Once it’s dry, paint over the area with the right colour. You may have to apply more than one layer depending on how light or dark these colours are.
Check the reference sheet if you are not sure about the number of the field you have covered.
So don’t be afraid to make mistakes, someone used to say:
“Failure really is just success in progress. If you’d rather not to fail, you will probably never succeed” – Albert Einstein.
Failing and making mistakes is just part of the process of learning. Fail fast, learn faster.
HOW TO HANG YOUR FRAMED PAINTING
It’s most likely that if you bought a framed kit you got a hanging set, two hooks and two screws.
Sometimes even frameless kits come with it.
If you have the frame, let’s see how you can mount it on a wall.
First, roll up your sleeves.
Then attach the hooks to the back upper side of the frame using the screws. Insert the screw through that teeny tiny hole in the hook and fix it firmly to the back of the frame.
If you want to use only one set of screws and a hook, place it right in the centre of the frame. If you want to use them both, place one on each side of the frame.
To finish, just put a nail in the wall for each hook.
Check out this video where we explain it.Don’t you like it that way?
Fair enough, you may prefer not to put holes in your wall.
Anyway, making the holes can be too much of an engineering task if you’re not DIY savvy.
Don’t worry, there is an alternative.
As simple as double-sided adhesive tape.
Very convenient, especially if you don’t want to hang your painting permanently or you just want to try it out in different places.
HOW TO EASILY OPEN PAINT PODS
We know some of you may struggle to open paint pods, especially those with medical issues.
That’s why we made this video where we show alternative ways to do it, check it out!A picture is worth a thousand words.
WHAT TO DO WITH LEFTOVER PAINT
Surely, you haven’t used up every single paint pod of your last Paint By Numbers.
Do something with them, don’t waste them, don’t let them dry over time.
It would be a sin.
Get a blank canvas, paper, cardboard, hardwood, metal or literally use any material and create your own art.
Practice new techniques.
Express yourself through colours.
Explore new realities unknown to you until now and release the inner artist trapped inside you.
Consider it your small anarchic reign.
No lines. No numbers. No rules.
...
Thank you all, painters by numbers, for staying with us until the end of our guide. We’ve put a lot of effort into it, so we really hope you enjoyed reading and found it useful.
Consider joining our painters community if you want to get our tips and tricks before anyone else.
And if you happen to be in the mood for a wonderful Painting by numbers, check out our beautiful designs.
“Life is a great big canvas, throw all the paint you can at it” – Danny Kaye